This post is in response to questions from several friends about what you can do in the digital age of photography. I have a copy of Photoshop Elements 5.0 and sometimes use it to enhance a photo to help the viewer see what I felt when I took the picture. Here is a process I used on this image.
 This is the original photo. I used a Nikon d90 with a Nikkor VR 18-105mm lens, handheld. I was set on manual mode and the following; F-stop f/16, exposure time 1/80 sec, ISO speed 200, focal length 18mm. I tried to underexpose this as I am new at taking pictures in the snow and wasn't sure how they might be washed out. In Photoshop Elements 5.0 I did the following;
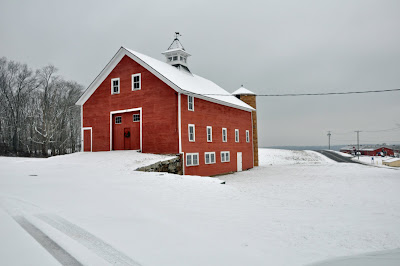 To correct the exposure I selected the Quick Fix Tab and next to Smart Fix hit the Auto button.
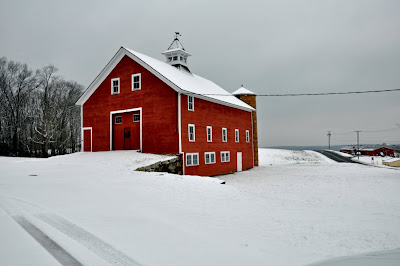 Next I selected the Full Edit tab. Under the Special Effects section and Layer Styles I picked Color Burn - and then selected Normal for the Mode and 50% for the Opacity. I wanted the red to stand out as much as it did to my human eye. It was this bright red against the white snow that caused me to pull over and take the picture in the first place.
 Next I wanted to darken the corners of the photo so that your eye would be drawn into the picture more. I also just plain like the vignette and think it creates more mood. Under Filter on the top of the page I selected Correct Camera Distortion....under Vignette and Amount I changed the amount to -35 and then hit OK.
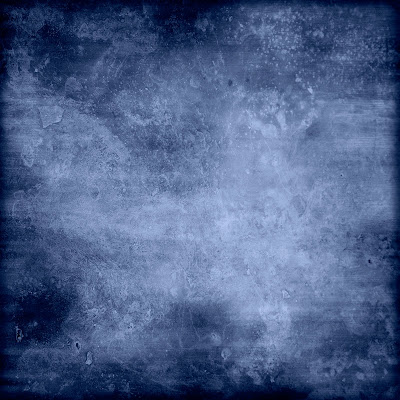 I wanted to add a texture to the image to add shadows of another color and create more depth so I opened this image of a blue texture which was used compliments of this group.
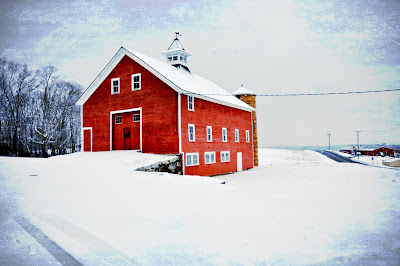 Next step was to copy and paste the blue texture on top of the original image and resize it. To resize I went to Image at the top of the page - then picked Resize and Scale. The copy and paste process created a new layer which I could then adjust. I choose Color Dodge with an Opacity of 60%.
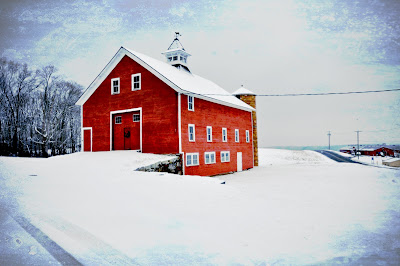 Finally I did some adjustments on lighting and color - which I think are more noticeable when viewing the image large. On the tabs at the top of the page I chose Enhance - then Adjust Lighting - then Brightness/Contrast and adjusted the Brightness to -11 and the Contrast to +7. Once again I picked Enhance - then Adjust Color - then Adjust Color Curves. I picked Lighten Shadows....and was done.
 Now you try. =)
No comments:
Post a Comment